DIY Eurorack: AR Envelope
To wrap up the bare bones of a subtractive synth, I needed to make an envelope, primarily one that drives the amplitude. In the future, more envelopes of greater complexity will be useful, but for now I decided to start with a basic AR (attack-release) envelope.
Schematic
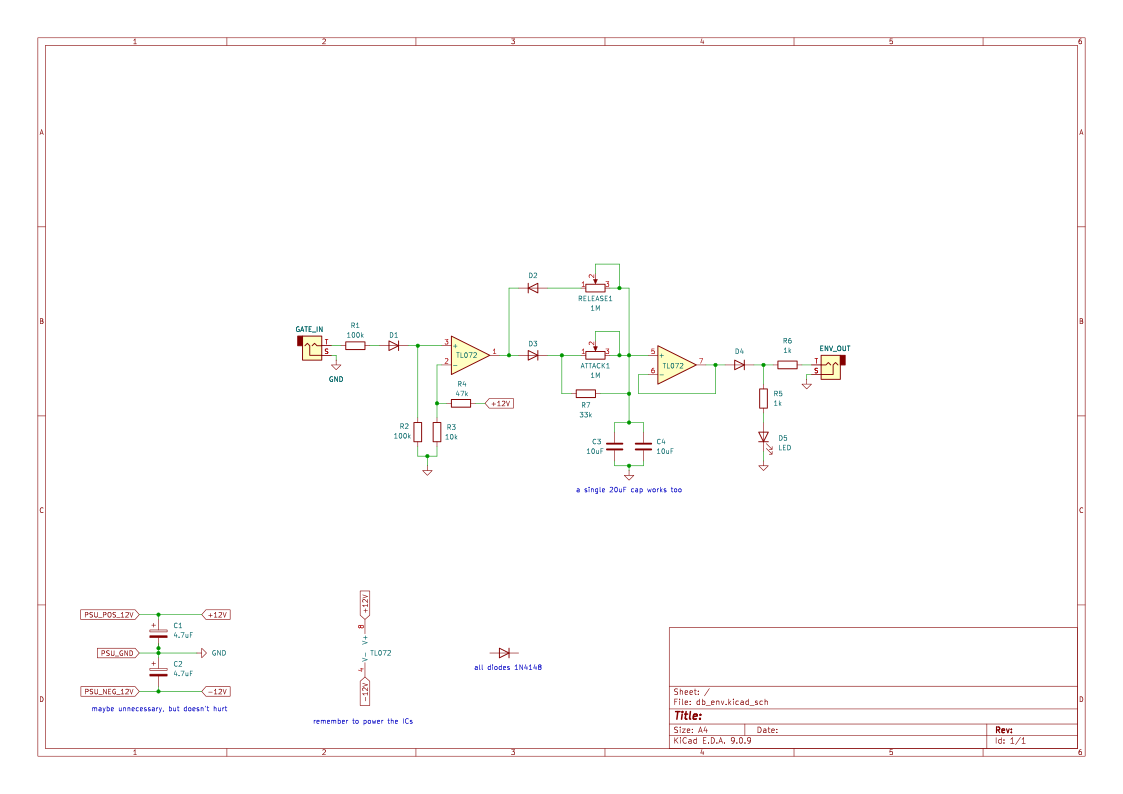
I didn’t have to dig too far into the DIY synth community to find Look Mum No Computer’s Simple DIY Envelope Generator. I built the basic design on the breadboard and checked the oscilloscope. The release at 100% looked a bit shorter than I hoped, so I played with the capacitor and added an extra resistor to prevent the attack from exploding.
Here’s a preview of the schematic (full KiCad file linked at the end, or right-click > open in new tab to get a better view):
Stripboard Layout
Nothing fancy here. The build was small enough that I only needed a half panel on the back, which makes the JST connection a little easier too.
I still tend to stick with 6-ish/7-ish HP designs cause it’s easier to keep the power connector horizontal and the stripboard traces vertical. If I ever move to PCBs I can experiment with more compact designs.
Assembly
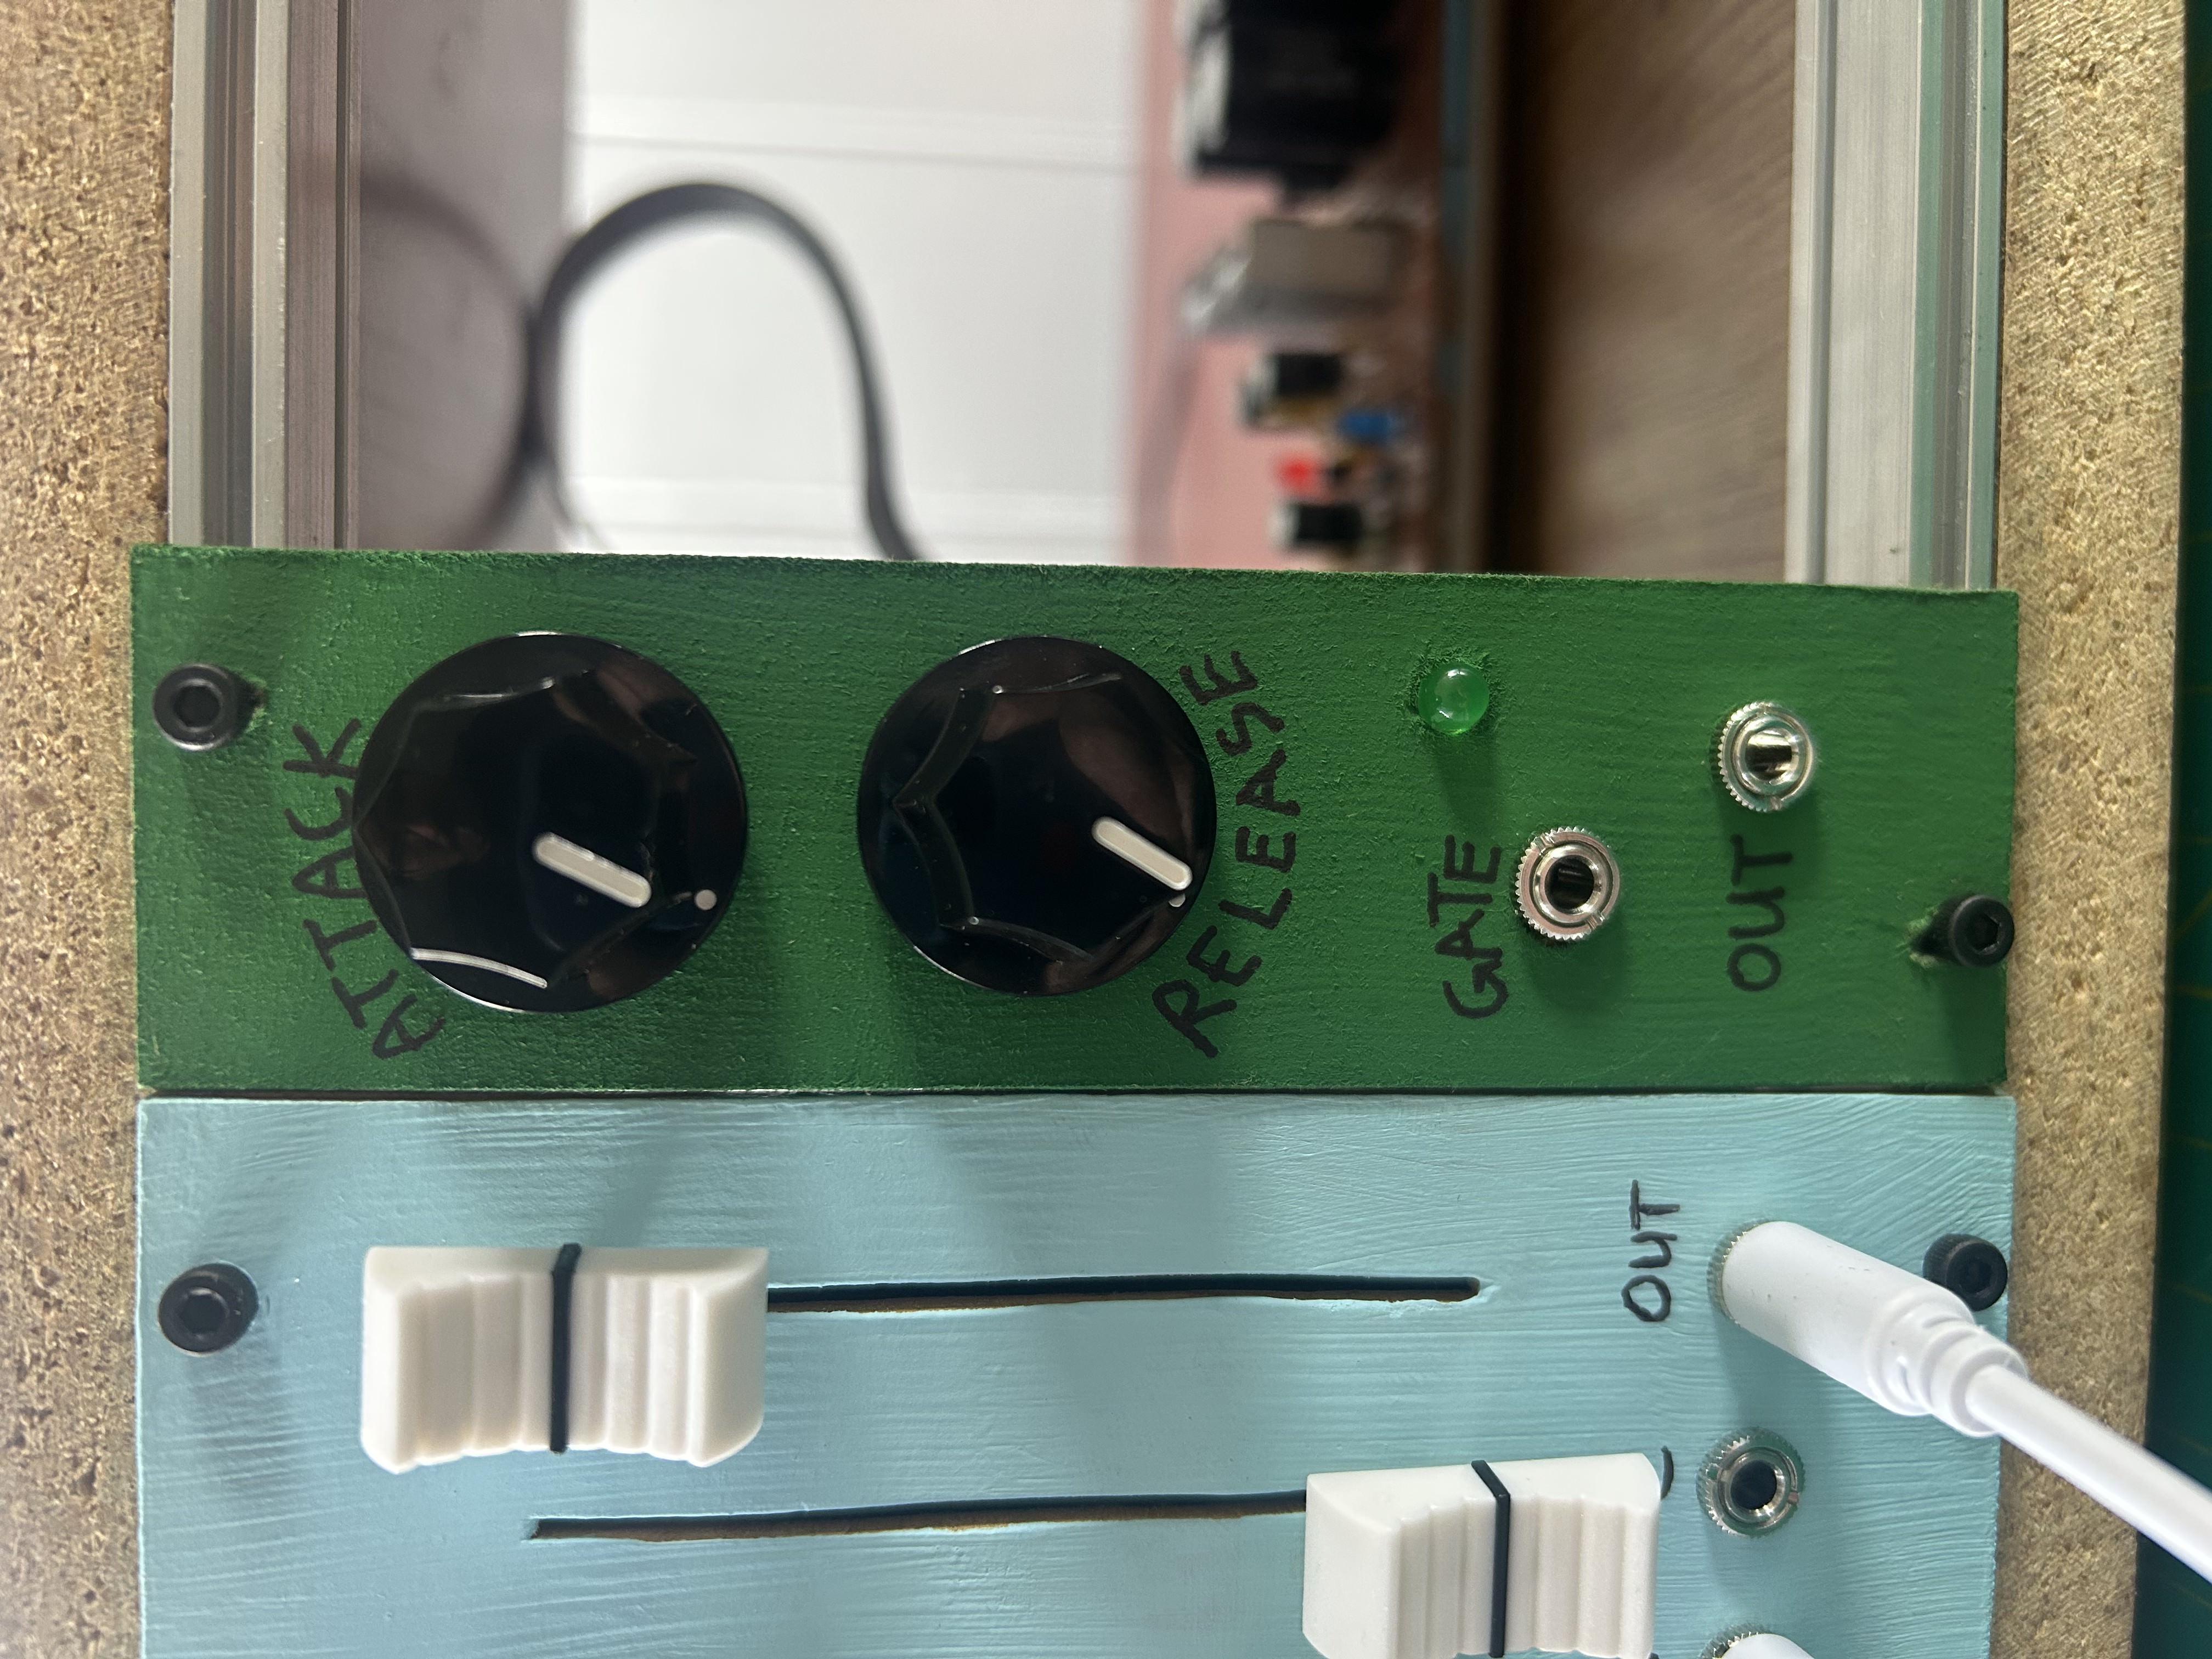
Again, nothing interesting here compared to previous builds. At some point I’d like to find better way to judge the height of my LEDs. Instead I just made it a bit long, then folded the leads as needed to lower the height, but that only worked since the panel wasn’t very crowded and I had room to work with.
Specs
Size and Power Consumption
| Attribute | Value |
|---|---|
| HP | 7-ish |
| +12V | 8 mA |
| +5V | 0 mA |
| -12V | 2 mA |
Price
Pots (\$1, the A1M pots were a bit pricey), jacks (\$0.25), other stuff (\$2?), panel (free!) = about \$4.
Read about how I’m making my panels at the bottom of this post.
Project Files
Checkout the schematic, stripboard layout, and other files here