Ray Tracing in Rust
Ray tracing is a bit of buzzword in the computer graphics / gaming world, and I never really looked into until a ran across this ray tracing example in Mojo. This example showcases the capabilities of the new Mojo language, and itself is based on this awesome project by Dmitry Sokolov, where the author builds a simple ray tracing example in C++.
The walkthrough was too tempting to leave it alone, and I decided to give it a try with Rust. There’s no point in explaining the theory and math “I” took to create the ray tracing program since I essentially translated C++ code to Rust. So instead, I’ll highlight a few things I learned.
Image Output
The original tutorial builds the simulated scene by simply writing the image data to a file. The Mojo version takes a similar approach, and uses matplotlib to display the image.
I decided to take a different approach, and used OpenGL via SDL. The Rust library for SDL2 was pretty easy to install on my laptop running EndeavourOS (sdl2 and sdl2_gfx via pacman).
Vec of Pixels
The next step was to decide how to store the image data. Both versions of the tutorial use a 1D array in lieu of a 2D array, so I took the same approach.
At first, I chose to use an array to store the pixels. With the height and width of my window defined as constants, my initialization looked something like this:
let mut image = [Vec3::ZERO; WIDTH * HEIGHT];
This worked when I was testing a small window (i.e. 10x10 or 100x100), but guess what happened when I tried a bigger window of 1024x678?
STACK OVERFLOW!
After searching StackOverflow (the website) for my stack overflow error, I was reminded that arrays are stored on the stack, while vectors are stored on the heap. The stack wasn’t able to store and array with 786432 Vec3s, and threw the stack overflow error.
I fixed the problem with 4 characters, and changed my array into a vector:
let mut image = vec![Vec3::ZERO; WIDTH * HEIGHT];
glam and &mut stuff
After the rendering was setup, it was pretty easy to follow the tutorial. I used the glam library for vector math, which saved me from writing my own version.
I started to hit a few bugs when adding multiple spheres. I don’t know C++, but it seems that arguments passed into functions are pass-by-value, i.e. even if a variable isn’t returned from a function, it’s value can be mutated and used in the outer scope (this might be completely wrong, again, I don’t know C++).
Either way, I was able to fix the bugs and match the output from the tutorial by passing mutable references of my variables. Consider this example:
fn main() {
  let mut dist: f32 = 6.0;

  if double_and_check(&mut dist) {
    println!("yes");
  } else {
    println!("no");
  }
}

fn double_and_check(dist: &mut f32) -> bool {
  *dist *= 2.0;
  *dist > 10.0
}
This is a bit contrived, but illustrates a common pattern throughout the ray tracing example. There are functions for checking if the ray intersect with an object, but I also needed to keep track of other variables in that function and return them to the calling function. The &mut argument and the * dereference operator allowed me to mutate the value of a variable successfully.
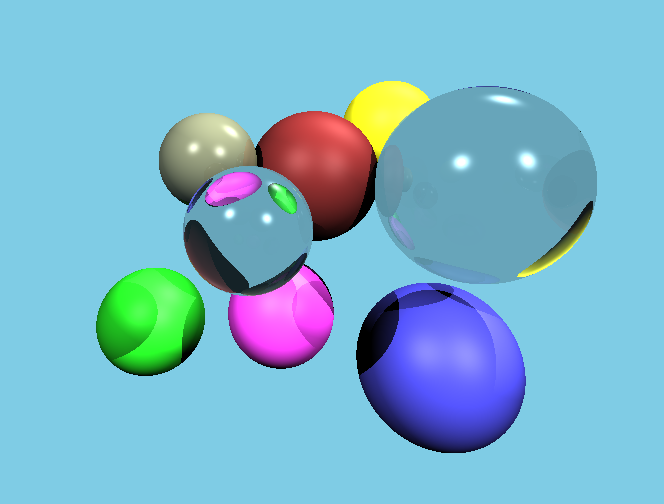
Final Output
After matching the final output of the C++ tutorial, I played around a bit more, adding spheres and materials. Here’s my final result:
Check out the code here